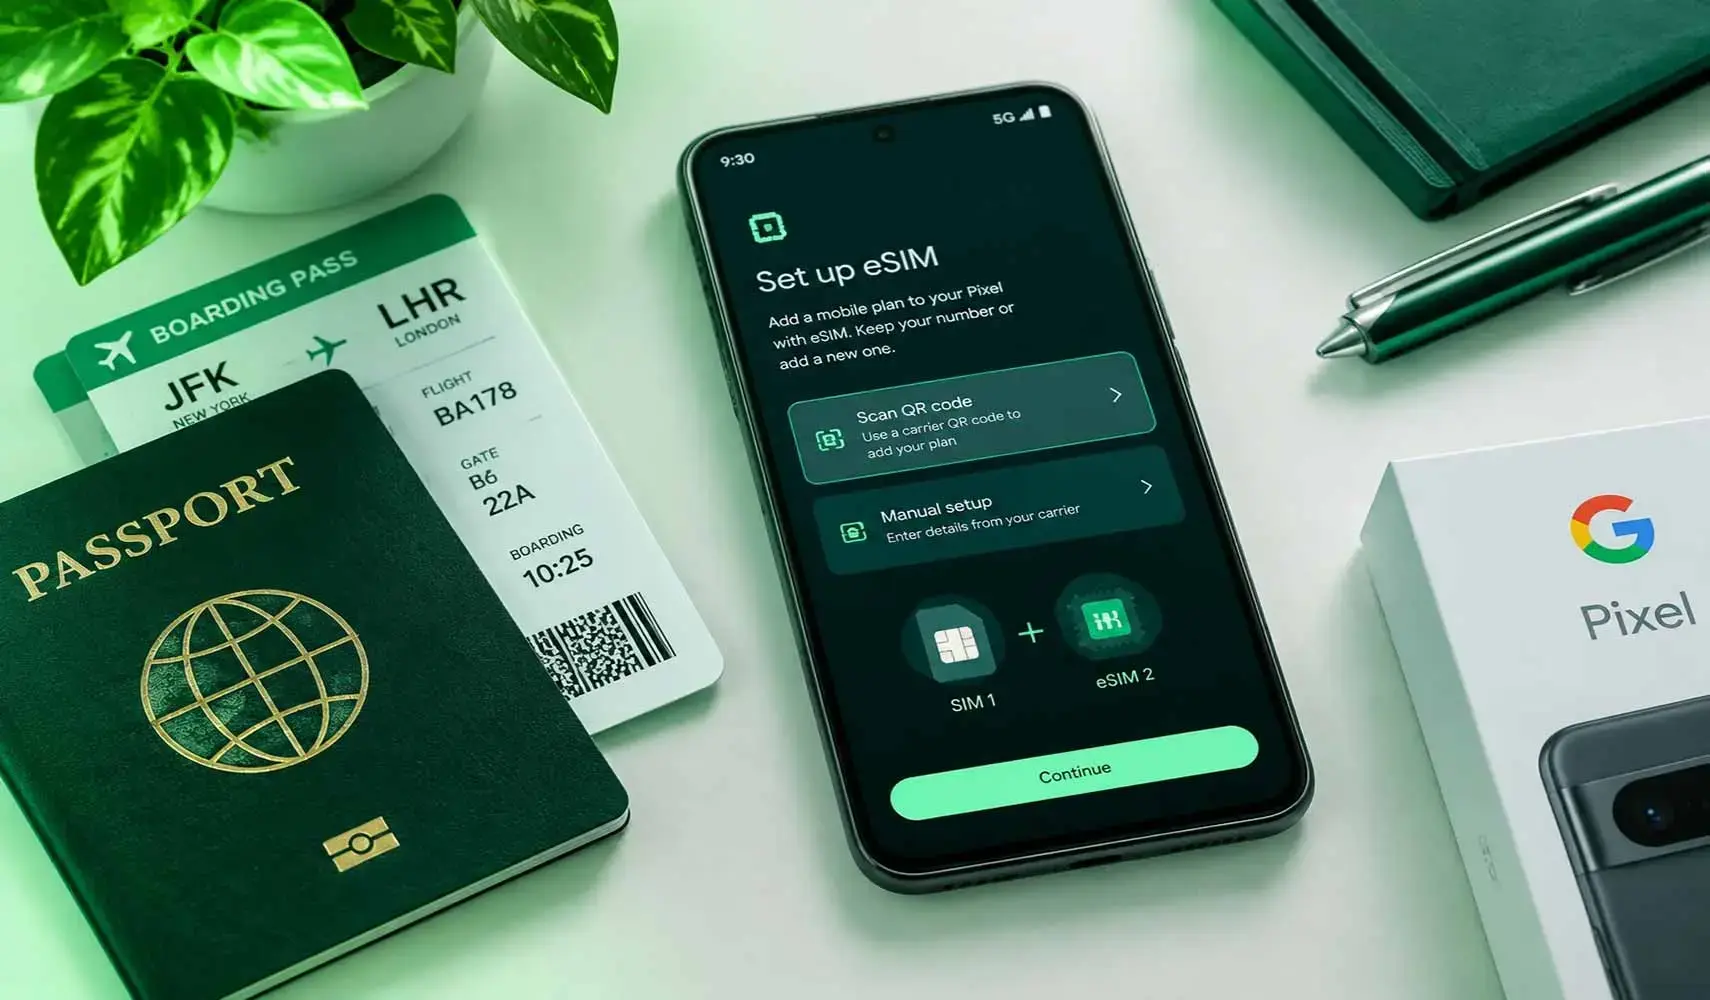
Every Google Pixel from the Pixel 3 onward supports eSIM, except a few regional and carrier versions of the Pixel 3 and 3a. Pixel 7 and newer models can run two eSIMs at the same time, and the US versions of the Pixel 10 and Pixel 11 (except the Pro Fold) are eSIM-only, with no SIM tray.
To add an eSIM, connect to Wi-Fi, open Settings, Network & internet, SIMs, Add SIM, Set up an eSIM, and scan the QR code from your provider. Your Pixel must be carrier-unlocked to use an eSIM from a different provider, such as a travel eSIM.
This guide covers the full model list from the original Pixel to the Pixel 11, a 10-second compatibility test, every setup method, a travel dual-SIM setup that avoids roaming charges, and fixes for the most common errors.
Which Google Pixel Phones Support eSIM? (Full Compatibility List & Regional Exceptions)
Every Pixel released since 2018 supports eSIM. What changes between generations is how many eSIMs you can run at once and whether the phone still has a SIM tray.
| Pixel model | Released | eSIM support | Dual SIM options | Notes |
|---|---|---|---|---|
| Pixel 11, 11 Pro, 11 Pro XL | 2026 | Yes | US: two eSIMs. Other regions: nano-SIM + eSIM, or two eSIMs | US models have no SIM tray |
| Pixel 11 Pro Fold | 2026 | Yes | Nano-SIM + eSIM, or two eSIMs | Keeps a SIM tray, including in the US |
| Pixel 10a | 2026 | Yes | Nano-SIM + eSIM, or two eSIMs | Has a SIM tray |
| Pixel 10, 10 Pro, 10 Pro XL | 2025 | Yes | US: two eSIMs. Other regions: nano-SIM + eSIM, or two eSIMs | US models have no SIM tray and store 8 or more eSIMs |
| Pixel 10 Pro Fold | 2025 | Yes | Nano-SIM + eSIM, or two eSIMs | SIM tray in all regions |
| Pixel 9, 9 Pro, 9 Pro XL, 9 Pro Fold, 9a | 2024–2025 | Yes | Nano-SIM + eSIM, or two eSIMs | |
| Pixel 8, 8 Pro, 8a | 2023–2024 | Yes | Nano-SIM + eSIM, or two eSIMs | Built-in eSIM transfer and SIM-to-eSIM conversion arrived with this series (carrier-dependent) |
| Pixel 7, 7 Pro, 7a, Pixel Fold | 2022–2023 | Yes | Nano-SIM + eSIM, or two eSIMs | First Pixels that can run two eSIMs at once |
| Pixel 6, 6 Pro, 6a | 2021–2022 | Yes | Nano-SIM + eSIM | One eSIM enabled at a time |
| Pixel 5, 5a | 2020–2021 | Yes | Nano-SIM + eSIM | One eSIM enabled at a time |
| Pixel 4, 4 XL, 4a, 4a 5G | 2019–2020 | Yes | Nano-SIM + eSIM | One eSIM enabled at a time |
| Pixel 3a, 3a XL | 2019 | Most units | Limited | Not on units bought in Southeast Asia or with Verizon service |
| Pixel 3, 3 XL | 2018 | Most units | Limited | Not on units from Australia, Japan, or Taiwan, or bought with service from US or Canadian carriers other than Sprint and Google Fi |
| Pixel 2, 2 XL | 2017 | Google Fi only | Single line | Can't use other providers' eSIMs, including travel eSIMs |
| Pixel, Pixel XL | 2016 | No | Physical SIM only |
How dual SIM works on a Pixel: both lines stay on standby for calls and texts, but only one line carries mobile data at a time. This is called Dual SIM Dual Standby (DSDS). "Two eSIMs" means both lines can be digital, with no physical card in the phone.
Important Regional and Carrier Exceptions
- Carrier-locked Pixels: a Pixel locked to a carrier, which is common with US installment plans, can't activate another provider's eSIM, including a travel eSIM, until that carrier unlocks it.
- Pixel 3 and 3a variants: the exceptions in the table come from the region or carrier where the phone was sold. These models no longer get Android updates, so expect occasional setup quirks.
- Used, imported, or replacement phones: whether a Pixel 10 or 11 has a SIM tray depends on its regional version, not its model name. Some US buyers have received international replacement units with a tray.
- When model lists disagree, trust your phone: published lists conflict on the Pixel 3 and 3a exceptions. The EID test below gives a definite answer in seconds.
Are the Pixel 10 and Pixel 11 eSIM-Only?
Yes, in the US. The Pixel 10, 10 Pro, and 10 Pro XL (2025) and the Pixel 11, 11 Pro, and 11 Pro XL (2026) sold in the US have no SIM tray. The same phones sold in other countries keep a nano-SIM tray, and both Pro Fold models keep one in every region, including the US.
US models can run two eSIMs at once and store at least eight eSIM profiles. That is enough for your home line, a work line, and plans for several upcoming trips on one phone.
What an eSIM-Only Pixel Means for Travel
- A local SIM card bought at the airport won't fit. A travel eSIM, or your carrier's roaming plan, is the only way to get mobile data abroad.
- You need Wi-Fi to download the eSIM, and there's no physical SIM to fall back on. Install your travel plan at home before you fly.
- Never delete your home eSIM to make room. Turn it off instead. A deleted eSIM usually has to be reissued by your carrier, which is hard to arrange from abroad.
- Before switching to a US Pixel 10 or 11, confirm your carrier supports eSIM on your plan. The major US carriers do.
How to Check if Your Google Pixel is eSIM Compatible
The fastest test: open the Phone app and dial *#06#. If an EID (a 32-digit number) appears, your Pixel has a working eSIM chip. No EID means your regional or carrier version doesn't support eSIM.
You can also check in Settings:
- Open Settings, Network & internet, SIMs.
- Tap Add SIM. On older Android versions, tap the + icon next to SIMs.
- If you see Set up an eSIM or Download a SIM instead?, your Pixel is ready.
If neither option appears, install the latest Android update and check again.
Before You Install: 3 Checks That Prevent Pixel eSIM Problems
1. Check Your Pixel's Carrier Lock Status
To use an eSIM from a different provider, your Pixel must be carrier-unlocked. Phones bought on an installment plan from a carrier are often locked until the plan is paid off.
- Quick test: try a SIM or eSIM from another network. If the phone rejects it, it's locked.
- Fix: ask your original carrier for an unlock well before your trip. Unlocks can take a few days.
2. Find Your EID and IMEI
Some providers ask for these numbers to issue your eSIM.
- Dial
*#06#to see your IMEI and EID on one screen. - Or go to Settings, About phone. On some Android versions, the EID sits under SIM status.
- Dual-SIM Pixels list two IMEIs, one per line.
3. Connect to Stable Wi-Fi Before Downloading
Your Pixel downloads the eSIM profile from your provider's server, so it needs a reliable connection.
- Use home or hotel Wi-Fi, not an airport network with a sign-in page. Those often interrupt the download.
- Don't restart the phone or turn off Wi-Fi mid-download. Many eSIM QR codes work only once.
How to Set Up a Google Pixel eSIM: QR Code, Manual Code, Conversion, or Transfer
Most eSIMs install in under two minutes by scanning a QR code. If you can't scan, enter the activation code by hand. Setting up a brand-new Pixel? Tap Download SIM during first-time setup and follow the prompts.
Install Your eSIM by Scanning a QR Code
- Connect your Pixel to Wi-Fi.
- Open Settings, Network & internet, SIMs.
- Tap Add SIM, then Set up an eSIM. On older Android versions, tap + next to SIMs, then Download a SIM instead?
- Scan the QR code from your provider, shown on another screen or printed on paper.
- Tap Download (or Activate) and wait while the profile installs, usually under a minute.
- If you already have a SIM, your Pixel asks whether to use two SIMs. Tap Yes.
- Rename the line, for example "Diva eSIM Europe", so it's easy to tell apart later.
Enter the Activation Code Manually
Use this when the QR code is on the same phone, such as in an email, or the camera won't read it.
- On the QR scanner screen, tap Need help?, then Enter it manually.
- Paste the activation code from your confirmation email.
- If your provider lists the SM-DP+ address and activation code separately, combine them in this format:
LPA:1$SM-DP+ address$activation code. - Tap Continue and follow the prompts.
Convert Your Physical SIM to an eSIM
If your carrier supports it, your Pixel can turn your current SIM card into an eSIM without a store visit.
- Open Settings, Network & internet, SIMs and tap your physical SIM.
- Tap Convert to eSIM and follow the prompts.
No Convert to eSIM option means your carrier doesn't offer it on your plan; ask for an eSIM QR code instead. The SIM card stops working once the eSIM activates, but keep it for a couple of weeks. AT&T, for example, advises holding on to it for 14 days.
Transfer an eSIM From Another Phone
- From another Android phone: during your Pixel's first-time setup, choose to transfer your SIM. Keep the old phone on, unlocked, and nearby. Both phones need Android 12 or later, and your carrier must support transfers.
- From an iPhone: on an iPhone with iOS 26.3 or later and a Pixel on Android 16 or later, open Settings, General, Transfer or Reset iPhone, Transfer to Android on the iPhone. Availability depends on your carrier.
- No transfer option? Ask your carrier to reissue the eSIM as a new QR code for the Pixel.
- Travel eSIMs work differently: most can be installed only once and can't be moved between phones. Install them on the phone you'll travel with.
eSIM vs Physical SIM on a Pixel: Which Should You Use?
On a Pixel, an eSIM is the better choice for travel and for running two lines; a physical SIM is still quicker if you swap phones often. On US Pixel 10 and 11 models, eSIM is the only option.
| Factor | eSIM | Physical SIM |
|---|---|---|
| Getting a new plan | Download in minutes over Wi-Fi | Order a card or visit a store |
| Travel data | Install a local plan before you fly | Buy a local SIM after landing and swap cards |
| Lines at once | Two eSIMs on Pixel 7 and newer | One nano-SIM, paired with an eSIM |
| Switching phones | Built-in transfer or a carrier reissue | Move the card in seconds |
| Lost or stolen phone | Nothing for a thief to pull out and reuse | Card can be removed and used in another phone |
| US Pixel 10 and 11 | Only option | Not supported (no tray) |
For a broader look beyond Pixel phones, read our guide to eSIM vs physical SIM.
How to Use a Travel eSIM on Your Google Pixel
Install the travel eSIM at home over Wi-Fi, then switch mobile data to it after you land. Your home number stays active for calls and texts, while browsing, maps, and apps run on cheaper local data.
Before You Fly
- Confirm your Pixel is carrier-unlocked (see the checks above).
- Pick an eSIM for travel that covers every country on your route. A regional plan saves you from stacking several single-country plans.
- Install it 1 to 2 days before departure. With most travel plans, the validity period starts when the eSIM first connects to a network at your destination, not when you install it. Check your plan's terms to be sure.
- Leave the new line turned off, or keep mobile data on your home line, until you land.
When You Land
- Open Settings, Network & internet, SIMs and tap your travel eSIM.
- Turn on Use SIM.
- Turn on Roaming for this eSIM. Travel eSIMs connect through partner networks, so they need it, and a prepaid plan can't run up overage charges.
- Go back and set Mobile data to the travel eSIM.
- No signal after a minute? Turn Airplane mode on for 10 seconds, then off.
Set Data, Calls, and Texts to Avoid Roaming Charges
In Settings, Network & internet, SIMs:
- Mobile data: your travel eSIM.
- Calls and SMS: your home SIM, so bank codes and two-factor texts still arrive. Many carriers don't charge to receive texts abroad, but incoming calls can carry roaming fees. Check your carrier's terms.
- Home SIM: keep Roaming off. This blocks its mobile data abroad while calls and texts keep working.
- Switch mobile data automatically: if your Pixel shows this option, turn it off while traveling so the phone never falls back to your home line's data.
- Wi-Fi calling: if your carrier supports it abroad, turn it on for your home line so calls and texts can come in over hotel Wi-Fi.
On Pixel 7 and newer, both lines can be eSIMs, so this setup needs no physical SIM. On US Pixel 10 and 11 models, it's the only way to run it.
Pixel eSIM Problems? Quick Fixes Before You Contact Your Provider
If your Pixel eSIM won't connect, check roaming, the mobile data setting, and the carrier lock first, then work through the table.
| Problem | Likely cause | Fix |
|---|---|---|
| No data at your destination | Roaming is off, or mobile data is set to the wrong line | Turn on Roaming for the travel eSIM, set it as the Mobile data SIM, then toggle Airplane mode |
| Signal bars but no internet | Missing APN | Open SIMs, your eSIM, Access Point Names and add the APN your provider lists |
| No signal or "Emergency calls only" | Phone picked an unsupported network | Turn off Automatically select network and choose one of your provider's partner networks |
| "Contact your carrier to set up your eSIM" | Pixel's built-in carrier flow on an unlocked phone | Skip it: install with the QR code or manual activation code, and ask the carrier for a bring-your-own-device eSIM QR code |
| Download error or "code already used" | QR code already scanned, or Wi-Fi dropped mid-download | Check SIMs for an inactive profile before rescanning; if none, ask your provider for a new code |
| "Network locked" or can't add a SIM | Carrier lock | Ask your original carrier to unlock the phone |
| Profile active but nothing works | Network settings glitch | Go to Settings, System, Reset options, Reset Mobile Network Settings. Skip the separate option that erases eSIMs |
Frequently Asked Questions
No. The original Pixel and Pixel XL have no eSIM, and the Pixel 2 and 2 XL support it only on Google Fi. Every Pixel from the Pixel 3 onward supports eSIM, except some Pixel 3 and 3a units sold in specific regions or through specific carriers.
Comments (0)
Leave a comment