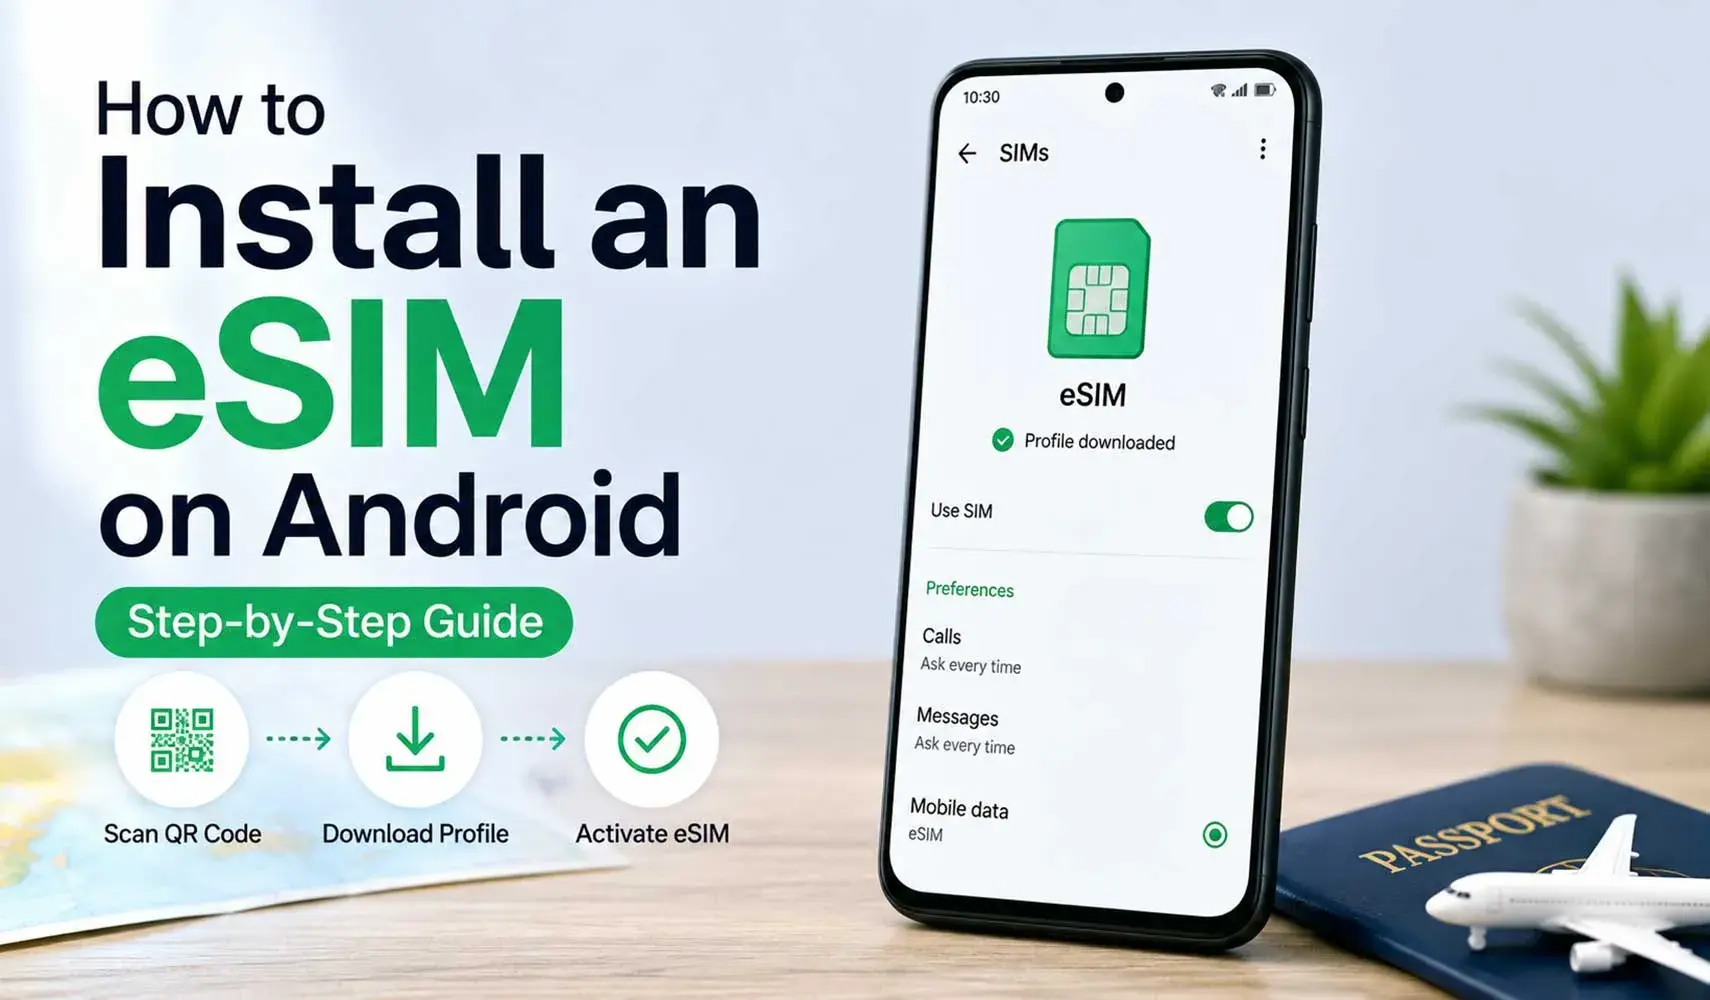
Setting up a new mobile plan on an Android phone used to mean removing the SIM tray and replacing a tiny plastic card. An eSIM changes that process by letting you download the mobile plan directly to your device, with no physical SIM required.
For some people, the first experience with an eSIM comes just before a trip abroad. Others use it to keep two phone numbers on one device or switch between carriers without handling another SIM card. Whatever the reason, the installation steps are easier once you know where to find the right settings.
This guide explains how to install an eSIM on Android, how to use eSIM in Android after installation, and what to check if something doesn't work as expected.
Before You Install an eSIM on Android
Most people open the settings first. In reality, the preparation takes less time than the installation itself. A phone that supports eSIM, a working internet connection, and the activation details from your provider are usually all that's needed before you begin.
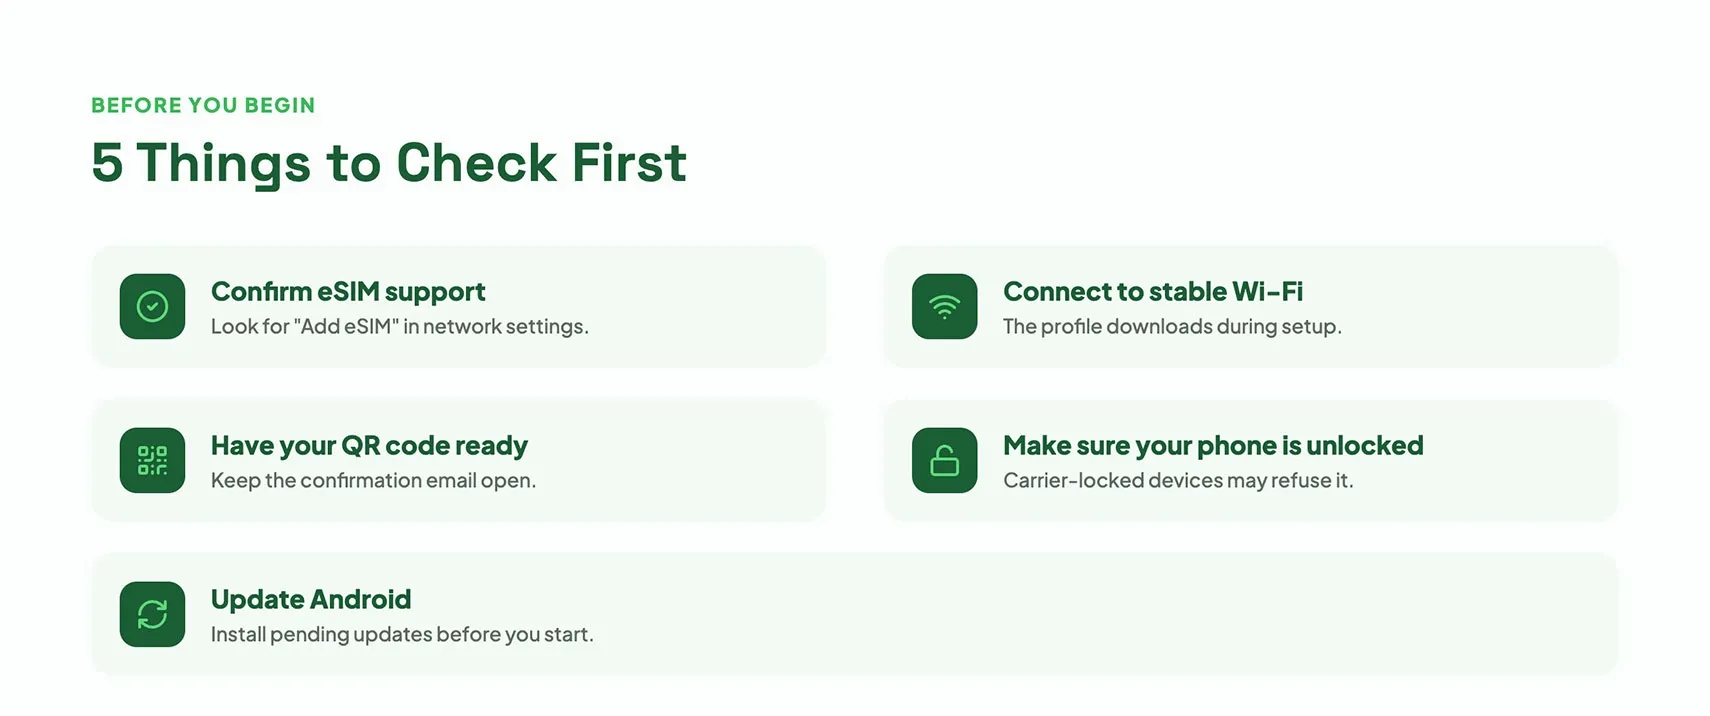
- Check if your Android phone supports eSIM: eSIM isn't available on every Android device. Even two phones from the same brand can offer different features depending on the model or the region where they were sold. Looking for an "Add eSIM" option in the network settings is often the fastest way to find out.
- Connect to a stable Wi-Fi network: An internet connection is part of the installation. The phone has to download the eSIM before anything else can happen. If the connection drops halfway through, you'll probably have to start that part again.
- Prepare your QR code or activation details: Don't start the setup and then go looking for the activation details. Keep the QR code or confirmation email open from the beginning. Not every provider sends the same information, so what you receive may look a little different from someone else's.
- Make sure your phone is unlocked (if required): A carrier-locked phone may refuse an eSIM from another network. If you're not sure whether your device is unlocked, it's easier to confirm that before starting the installation than after it fails.
- Update Android (recommended): Finding a pending Android update just after starting the installation can be frustrating. If your phone already has one waiting, taking care of it first keeps the rest of the setup uninterrupted.
Step-by-Step Guide: How to Install an eSIM on Android
The installation method isn't the same for every eSIM. The information you receive after purchasing the plan determines which option you'll use. In most cases, the setup follows one of the methods below.
Depending on your phone brand and Android version, the exact setting menus may vary slightly. Below are the step-by-step navigation paths for the most popular Android devices.
Important: Menu names and eSIM setup options can vary by device model, Android version, carrier, and region. If the options below do not appear exactly as shown, search your Settings app for "eSIM" or "SIM manager".
Option 1: Samsung Galaxy Devices
- Open Settings and tap Connections.
- Tap SIM manager (or SIM card manager).
- Select Add eSIM (or Add mobile plan).
- Tap Scan QR code from service provider and point your phone camera at your QR code.
- Tap Add or Confirm when prompted to download the profile.
Option 2: Google Pixel Devices
- Open Settings and tap Network & internet.
- Tap the + (plus sign) next to SIMs, or tap Mobile network.
- Select Download a SIM instead? (or Add eSIM).
- Tap Next, then scan your provider's QR code using the on-screen camera.
- Tap Download to finish the setup.
Option 3: Xiaomi, Motorola and Other Android Devices
The exact menu path varies significantly between Android manufacturers and models. Look for options such as SIMs, Mobile Network, SIM Manager, or eSIM in Settings.
- Open Settings and tap SIM cards & mobile networks (or Network & Internet).
- Scroll down and select eSIM or Manage eSIM.
- Tap Add eSIM or Add mobile plan.
- Scan your QR code and tap Add to complete installation.
Alternative Installation Methods
- Manual setup (if no QR code is available): On the QR scanning screen, look for Enter activation code or Need help / Enter code manually. If your provider supplies manual activation details, enter the SM-DP+ address and activation code exactly as provided.
- Carrier app setup: Some providers let you install the profile directly through their mobile app with a single tap, bypassing the phone's camera altogether.
How to Activate Your eSIM on Android
Installing an eSIM is only part of the process. The new mobile plan must still be selected before it can be used for calls, messages, or mobile data. These are the settings most Android phones ask you to review after the installation is complete.
- Turn on the eSIM: After the installation finishes, the new line may appear in your SIM or network settings. If it isn't already active, switch it on before moving to the next step.
- Select it for mobile data: Installing an eSIM doesn't automatically change which line your phone uses for internet access. A newly installed eSIM isn't always chosen for mobile data automatically. Taking a quick look at that setting can save confusion later.
- Enable data roaming (if required by your plan): Some international travel eSIMs route data through a foreign partner network, which requires Data Roaming to be turned on in your phone's SIM settings. Local domestic eSIMs usually do not require this. Always check your provider's activation instructions; if data doesn't work after landing, turning on Data Roaming is usually the missing step.
- Wait for the network connection: The signal doesn't always appear the moment the setup finishes. Give the phone a little time to connect before changing settings or restarting the device.
Common eSIM Installation Problems
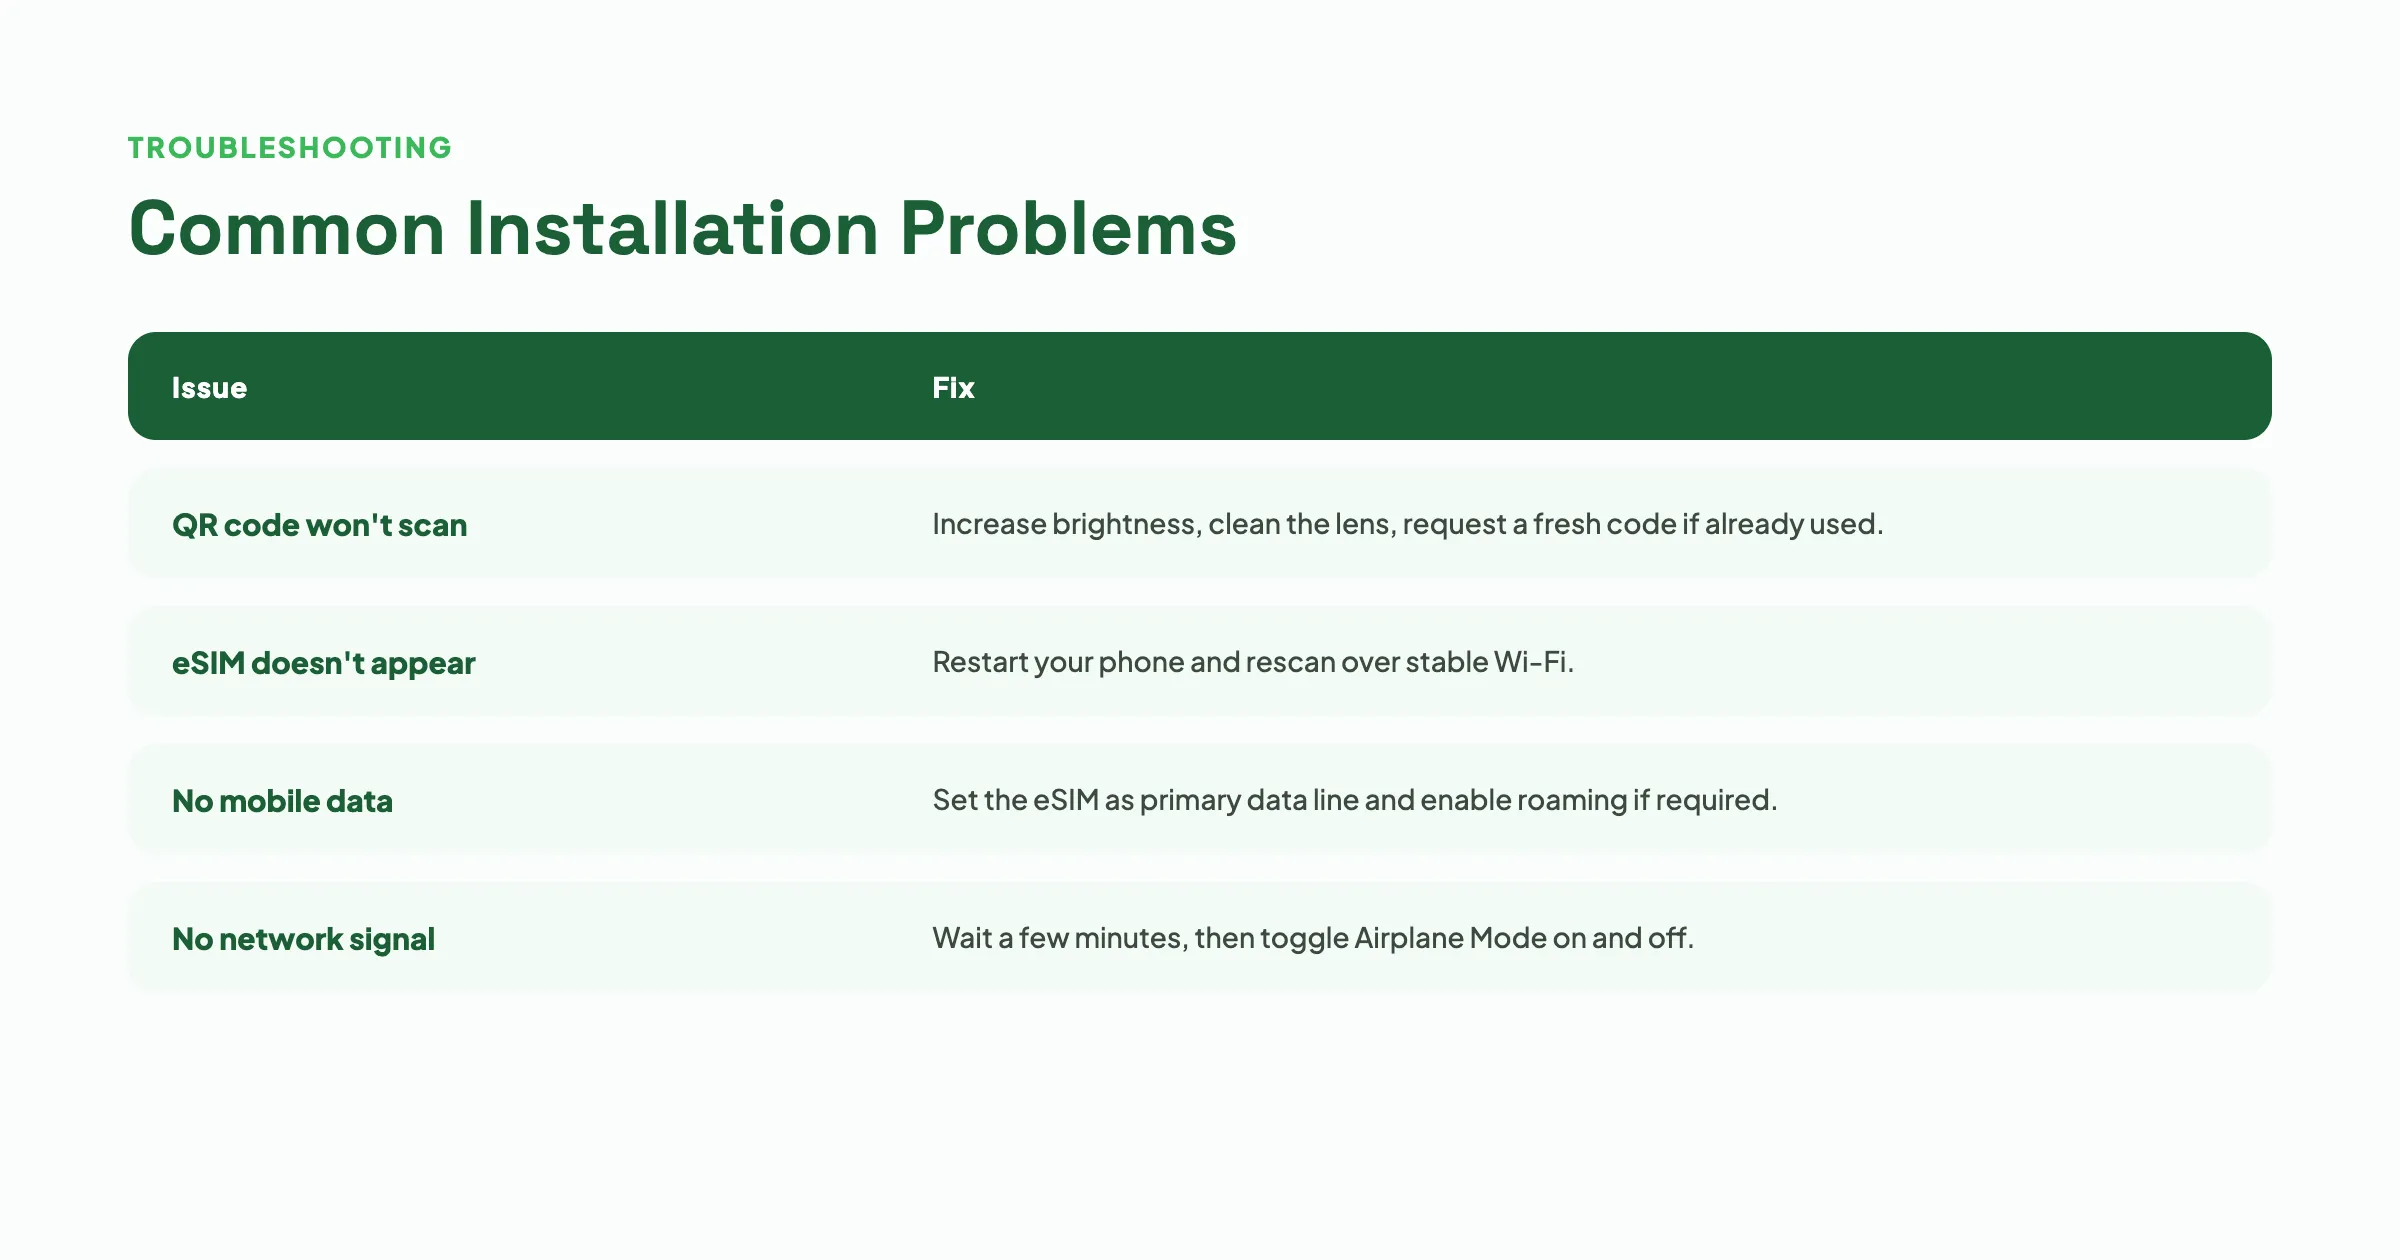
Installing an eSIM on Android is usually straightforward, although a missed setting or an incomplete download can sometimes get in the way.
A QR code might not scan, the new mobile plan may not appear, or mobile data may stay unavailable after activation. The table below covers the problems Android users report most often and the first things worth checking.
| Issue | Possible Reason | Solution |
|---|---|---|
| QR code won't scan | Low brightness, dirty lens, or code already scanned | Increase screen brightness and clean the camera lens. If the QR code has already been used or doesn't work, check your provider's instructions. |
| eSIM doesn't appear | Download was interrupted before completion | Check SIM Manager or network settings. If the profile is missing, restart your phone and scan the QR code again over a stable Wi-Fi connection. |
| No mobile data | eSIM is not selected as the primary data line, or roaming is off | Set your eSIM as the primary line for mobile data and ensure Data Roaming is turned on if required by your provider. |
| No network signal | Network registration delay or incorrect APN | Wait 2 to 3 minutes after landing. If signal fails to appear, toggle Airplane Mode on and off, or restart your phone. Check the APN settings provided by your eSIM provider. |
| Installation fails halfway | Weak or unstable Wi-Fi connection | Reconnect to a reliable Wi-Fi network and restart the installation process. |
Tips Before Traveling with an eSIM
A few minutes of preparation can make the first day of your trip much easier. Before leaving, keep the activation email or QR code somewhere you can access it without searching through your inbox. Some providers allow the activation details to be used only once.
It's also worth knowing when your plan becomes active. Not every provider follows the same activation policy, especially with an eSIM for travel. Reading those details in advance helps you avoid using part of your plan earlier than expected.
One last setting deserves a quick check before you head to the airport. Make sure the eSIM is selected for mobile data if that's how you plan to stay connected. If you're travelling with an eSIM for Europe, reviewing these settings at home is usually easier than trying to change them after arrival.
Tip: Install your eSIM while you still have reliable Wi-Fi at home, then leave the activation for when you arrive if your plan allows it.
Final Thoughts
Installing an eSIM on Android is a straightforward process once you know where to find the right settings. Whether you scan a QR code or enter the activation details manually, having a stable Wi-Fi connection and your provider's instructions nearby can help make the setup easier.
After installation, make sure your new eSIM profile is turned on and selected for mobile data. Depending on your provider and plan, you may also need to enable Data Roaming or adjust other network settings. Once configured, your eSIM lets you use mobile service without inserting or swapping a physical SIM card.
Frequently Asked Questions
The eSIM profile has to be downloaded to your phone during installation. A stable Wi-Fi connection is the easiest option, although any reliable internet connection can be used.
Comments (0)
Leave a comment